Octomapを使って3Dマップを作る
このページでは、RGBDカメラ付きのドローンと octomap パッケージを使用して3Dマップを作成します。
モデルを作成する
RGBDカメラ付きのIrisのSDFファイルは以下のとおりです。
1 2 3 4 5 6 7 8 9 10 11 12 13 14 15 16 17 18 19 20 21 22 23 24 25 26 27 28 29 30 31 32 33 34 35 36 37 38 39 40 41 42 43 44 45 46 47 48 49 50 51 52 53 54 55 56 57 58 59 60 61 62 63 64 65 66 67 68 69 70 71 72 73 74 75 76 77 78 79 80 81 82 83 84 85 86 87 88 89 90 91 92 93 | <?xml version='1.0'?>
<sdf version='1.6'>
<model name='iris_depth_camera'>
<include>
<uri>model://iris</uri>
</include>
<!-- Depth camera -->
<link name="camera_link">
<pose>0.1 0 0 0 0 0</pose>
<inertial>
<mass>0.01</mass>
<pose>0 0 0 0 -0 0</pose>
<inertia>
<ixx>1.8e-7</ixx>
<ixy>0</ixy>
<ixz>0</ixz>
<iyy>2.1733e-6</iyy>
<iyz>0</iyz>
<izz>1.8e-7</izz>
</inertia>
</inertial>
<collision name="collision">
<geometry>
<box>
<size>0.03 0.08 0.03</size>
</box>
</geometry>
</collision>
<visual name="camera_visual">
<geometry>
<box>
<size>0.03 0.08 0.03</size>
</box>
</geometry>
<material>
<script>
<name>Gazebo/DarkGrey</name>
<uri>file://media/materials/scripts/gazebo.material</uri>
</script>
</material>
</visual>
<sensor name="camera" type="depth">
<update_rate>20</update_rate>
<camera>
<horizontal_fov>1.047198</horizontal_fov>
<image>
<width>640</width>
<height>320</height>
<format>R8G8B8</format>
</image>
<clip>
<near>0.4</near>
<far>3.5</far>
</clip>
</camera>
<plugin name="camera_plugin" filename="libgazebo_ros_openni_kinect.so">
<baseline>0.2</baseline>
<alwaysOn>true</alwaysOn>
<!-- Keep this zero, update_rate in the parent <sensor> tag
will control the frame rate. -->
<updateRate>0.0</updateRate>
<cameraName>camera_ir</cameraName>
<imageTopicName>/camera/depth/image_raw</imageTopicName>
<cameraInfoTopicName>/camera/depth/camera_info</cameraInfoTopicName>
<depthImageTopicName>/camera/depth/image_raw</depthImageTopicName>
<depthImageInfoTopicName>/camera/depth/camera_info</depthImageInfoTopicName>
<pointCloudTopicName>/camera/depth/points</pointCloudTopicName>
<frameName>camera_link</frameName>
<pointCloudCutoff>0.05</pointCloudCutoff>
<distortionK1>0</distortionK1>
<distortionK2>0</distortionK2>
<distortionK3>0</distortionK3>
<distortionT1>0</distortionT1>
<distortionT2>0</distortionT2>
<CxPrime>0</CxPrime>
<Cx>0</Cx>
<Cy>0</Cy>
<focalLength>0</focalLength>
<hackBaseline>0</hackBaseline>
</plugin>
</sensor>
</link>
<joint name="camera_joint" type="fixed">
<child>camera_link</child>
<parent>iris::base_link</parent>
</joint>
</model>
</sdf>
|
以下がRGBDカメラのセンサ部分の定義です。
ROSプラグインについては、Gazebo plugins in ROS を、 <camera> タグ内の記述については、gazebo_models / kinect / model.sdf を参考にしました。
1 2 3 4 5 6 7 8 9 10 11 12 13 14 15 16 17 18 19 20 21 22 23 24 25 26 27 28 29 30 31 32 33 34 35 36 37 38 39 40 | <sensor name="camera" type="depth">
<update_rate>20</update_rate>
<camera>
<horizontal_fov>1.047198</horizontal_fov>
<image>
<width>640</width>
<height>320</height>
<format>R8G8B8</format>
</image>
<clip>
<near>0.4</near>
<far>3.5</far>
</clip>
</camera>
<plugin name="camera_plugin" filename="libgazebo_ros_openni_kinect.so">
<baseline>0.2</baseline>
<alwaysOn>true</alwaysOn>
<!-- Keep this zero, update_rate in the parent <sensor> tag
will control the frame rate. -->
<updateRate>0.0</updateRate>
<cameraName>camera_ir</cameraName>
<imageTopicName>/camera/depth/image_raw</imageTopicName>
<cameraInfoTopicName>/camera/depth/camera_info</cameraInfoTopicName>
<depthImageTopicName>/camera/depth/image_raw</depthImageTopicName>
<depthImageInfoTopicName>/camera/depth/camera_info</depthImageInfoTopicName>
<pointCloudTopicName>/camera/depth/points</pointCloudTopicName>
<frameName>camera_link</frameName>
<pointCloudCutoff>0.05</pointCloudCutoff>
<distortionK1>0</distortionK1>
<distortionK2>0</distortionK2>
<distortionK3>0</distortionK3>
<distortionT1>0</distortionT1>
<distortionT2>0</distortionT2>
<CxPrime>0</CxPrime>
<Cx>0</Cx>
<Cy>0</Cy>
<focalLength>0</focalLength>
<hackBaseline>0</hackBaseline>
</plugin>
</sensor>
|
RGBDカメラが正常に動作するか確認するために、以下のような、ロボットのベースフレームからRGBDカメラへのTFをブロードキャストする設定を書いたLaunchファイル作成します。
1 2 3 4 5 6 7 8 9 10 11 12 13 14 15 16 17 18 19 20 21 22 23 24 | <launch>
<node pkg="tf" name="base2depth" type="static_transform_publisher" args="0.1 0 0 -1.57 0 -1.57 base_link camera_link 100"/>
<arg name="vehicle" default="iris_2d_lidar"/>
<arg name="world" default="$(find mavlink_sitl_gazebo)/worlds/empty.world" />
<arg name="sdf" default="$(find px4_sim_pkg)/models/iris_depth_camera/model.sdf" />
<arg name="verbose" default="false"/>
<arg name="debug" default="false"/>
<include file="$(find px4)/launch/mavros_posix_sitl.launch" >
<arg name="sdf" value="$(arg sdf)" />
<arg name="vehicle" value="$(arg vehicle)" />
<arg name="verbose" value="$(arg verbose)" />
<arg name="debug" value="$(arg debug)" />
<arg name="world" value="$(arg world)" />
</include>
<param name="/mavros/local_position/tf/send" type="bool" value="true" />
<param name="/mavros/local_position/frame_id" type="str" value="map" />
<param name="/mavros/local_position/tf/frame_id" type="str" value="map" />
<param name="/mavros/setpoint_velocity/mav_frame" type="str" value="BODY_NED" />
</launch>
|
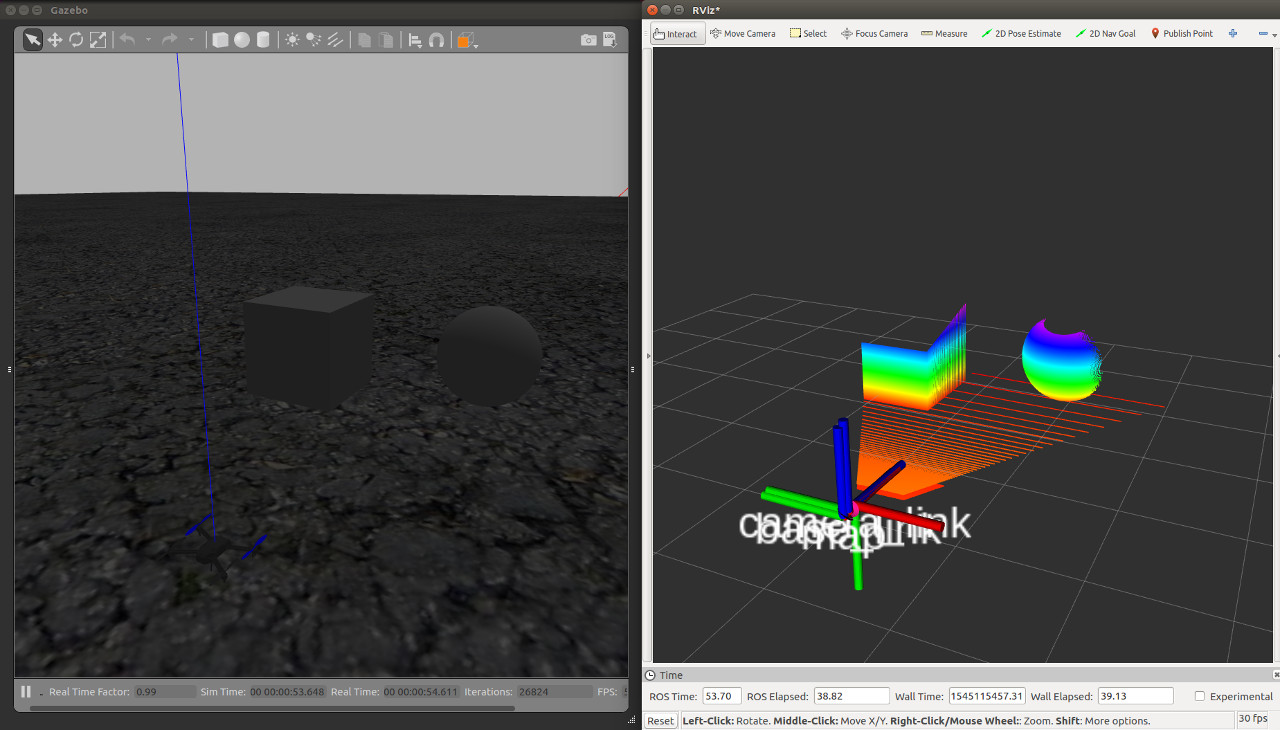
以下のような点群が表示されればOKです。
Octomapの準備
Octomapのインストール
sudo apt install ros-kinetic-octomap-mapping
Launchファイル
Octomapによる3D地図生成を行うノードである、octomap_server_nodeを実行するためのLaunchファイルを作成します。 octomap_serverパッケージにあるoctomap_mapping.launchファイルを元に変更を加えるので、以下のコマンドでファイルをコピーします。
roscp octomap_server octomap_mapping.launch ~/catkin_ws/src/px4_sim_pkg/launch/
編集後のLaunchファイルは以下のとおりです。
今回の設定では、グローバルフレームが map になっており、点群は /camera/depth/points にパブリッシュされるので、その部分を変更してあります。
1 2 3 4 5 6 7 8 9 10 11 12 13 14 15 | <launch>
<node pkg="octomap_server" type="octomap_server_node" name="octomap_server">
<param name="resolution" value="0.05" />
<!-- fixed map frame (set to 'map' if SLAM or localization running!) -->
<param name="frame_id" type="string" value="map" />
<!-- maximum range to integrate (speedup!) -->
<param name="sensor_model/max_range" value="5.0" />
<!-- data source to integrate (PointCloud2) -->
<remap from="cloud_in" to="/camera/depth/points" />
</node>
</launch>
|
実行する
シミュレーション環境を起動します。 今回はwillow_garage.worldをワールドファイルとして使用します。
roslaunch px4_sim_pkg mymodel_sitl_depth_cam.launch world:=$HOME/catkin_ws/src/dronedoc/worlds/willow_garage.world
次に、octomap_server_nodeノードを起動します。
roslaunch px4_sim_pkg octomap_mapping.launch
作成されたマップを見るためにRvizを起動しておきます。
rviz
最後に、mavteleopノードを起動します。
roslaunch px4_sim_pkg mavros_teleop.launch
ゲームパッドから操作できるようにするために、飛行モードをOFFBOARDに変更します。
rosrun mavros mavsys mode -c OFFBOARD
ドローンを動かすと、以下のように3Dマップが作成されます。
この動画では resolution パラメータを変更して地図の解像度を変えてあります。
参考
- OctoMap 3D Models with ROS/Gazebo - PX4 Developer Guide
PX4 SITL環境でOctomapによるマッピングを行う